A lot of people would like to have their photos posted
on the web site. There are a number of things you can do to help
make this process proceed more smoothly. Here are the steps to
help your beleaguered
webmaster:
- Get the photos scanned! Obviously, a digital format is
necessary. Generally, JPG (Joint Photographic Experts Group)
format is the most appropriate. The final size should be no
more than about 1024 pixels in the longest dimension. If you
have almost any image editing program, you can resize your photos
appropriately and add a copyright to them. The copyright
should be large enough to be read on screen, but in as inconspicuous
a corner of the photo as possible. Generally, I use either
white or black lettering, depending on the color of the background.
In general, the finished file size should be no more than about 200
KB, although there is no hard limit.
- Select a nice set of the most relevant or unusual photos you
have. There is no hard limit on the number, but avoid several
views of the same thing; pick the best one.
- Once you have selected your set, rename the files with your
initials and a trailing number with leading zeroes so that they sort
in numerical order on your computer. For example, if you had
30 pictures and your initials were "xxx", the photos would be named
xxx01.jpg through xxx.30.jpg.
- Now open Notepad (PC) or TextEdit (Mac) and make up a text file
that contains a title and a caption for each of the photos. I
can't begin to explain how important this step is and how many times
it isn't done. Start with the first photo, type "1. " and then
place a descriptive title of just a few words beside the number.
After the title, place a carriage return and then type in the full
description, taking as many lines as you need, but don't place hard
carriage returns within the caption; just let it flow and wrap to
the next line as it will. If the photo is a picture of an
aircraft, place the complete tail number in the caption, as this
facilitates text searching. For example, if you had a photo of
4188, place "62-4188" in the caption. Continue with this list
to include a title and caption for each photo.
- Once you are satisfied with everything, send your
webmaster an email
with the photos and caption file as an attachment. It may be
necessary to send several emails if you have a lot of photos, as I
would limit things to no more than about ten attachments per
message.
- If you have no way to get your slides or photos scanned, contact
the webmaster to make
arrangements for me to do it. This is very labor-intensive,
however, and it will take me a while to get it done. Even in
this case, it would be necessary to place a sequential number on
each slide or photo and provide the caption file.
- It is also a nice touch to add a brief biographical sketch for
use on the index page of your photos. This can be placed in
another Notepad/TextEdit file.
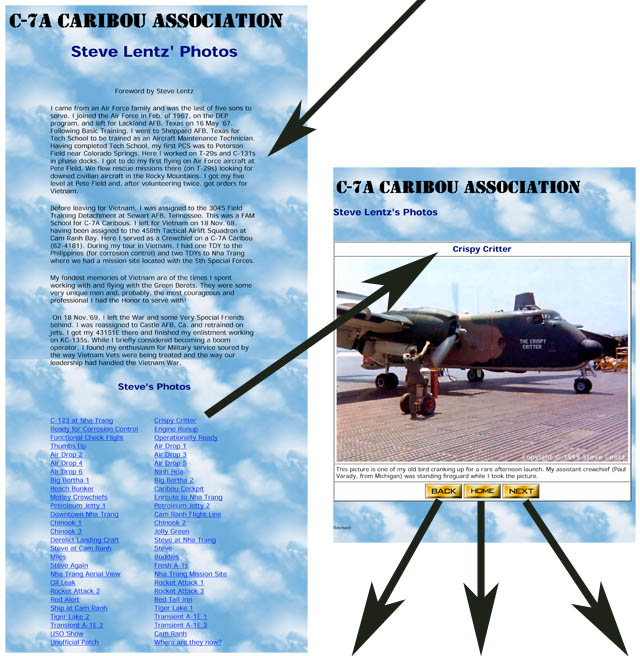
The graphic below shows the general layout of our photo album pages
and how each part is used. |